How to Remove Background Noise From Video in 5 Steps
Summary
To remove background noise from video, extract the audio, capture one to two seconds of pure noise as a profile, apply reduction at 6 to 12 dB, add a high-pass filter near 80 to 100 Hz, and re-sync at 48 kHz. Steady hiss, hum and fan noise respond well. Competing voices, traffic and clipping do not, so re-record, cut and cover, or regenerate the line from a clean voice clone instead.

Here is how to remove background noise from video: pull the audio out of the clip, capture one to two seconds of noise with no speech, run noise reduction at 6 to 12 dB, add a high-pass filter around 80 to 100 Hz, then export at 48 kHz and put the track back. Steady noise such as fans, hum and hiss comes out cleanly. Noise that overlaps the voice does not, and at that point you re-record the line instead.
Why does noise reduction have a ceiling?
Every denoiser works by subtraction. It learns what the noise looks like, then removes that pattern from the signal. It cannot rebuild what the noise already buried.
That is why a refrigerator hum disappears and a café conversation does not. Hum sits in a narrow, predictable band. Other people talking occupy the same frequencies as your speaker, so any filter strong enough to remove them also eats the voice. Larry Jordan makes the same point in his Premiere Pro Enhance Speech walkthrough: remove too much and you damage the speaker's voice. He measured roughly a 6 dB drop in background level without a matching drop in the voice, which is a good result and also a realistic one.
Set your expectation before you open a plugin. You are aiming for noise that no longer distracts, not silence.

Which noises can you remove and which can't you?
Sort the problem first. It saves an hour of fiddling with sliders.
Usually fixable:
Constant broadband hiss from a cheap preamp or a camera at high gain
Fan, air conditioner and refrigerator rumble
Mains hum at 50 or 60 Hz and its harmonics
Light room tone in a quiet space
Usually not fixable:
Clipping, because the peaks are gone and a de-clipper can only guess
Traffic, crowds or a second voice as loud as your speaker
Heavy reverb, which de-reverb tools only tighten a little
Wind hitting a bare microphone, which often clips before you ever see it
Audio already crushed by a lossy codec that threw away the high end
Skip the "AI fixes everything" pitch for the second list. If your clip is in it, jump to the section on replacing the line. Everything else, the workflow below handles.
The five-step workflow that holds up
This is the manual method. It works in Audacity, Fairlight, Premiere or any editor that lets you export a clean audio file.
1. Separate the audio from the clip
Export the audio track as WAV, not MP3. Every lossy re-encode adds its own artifacts, and a denoiser will amplify them. Keep the original sample rate, which is 48 kHz for most video.
You can run noise reduction inside an editor, but a separate file lets you listen to the result without the picture distracting you. It also gives you a clean fallback if you over-process.
2. Capture a noise profile
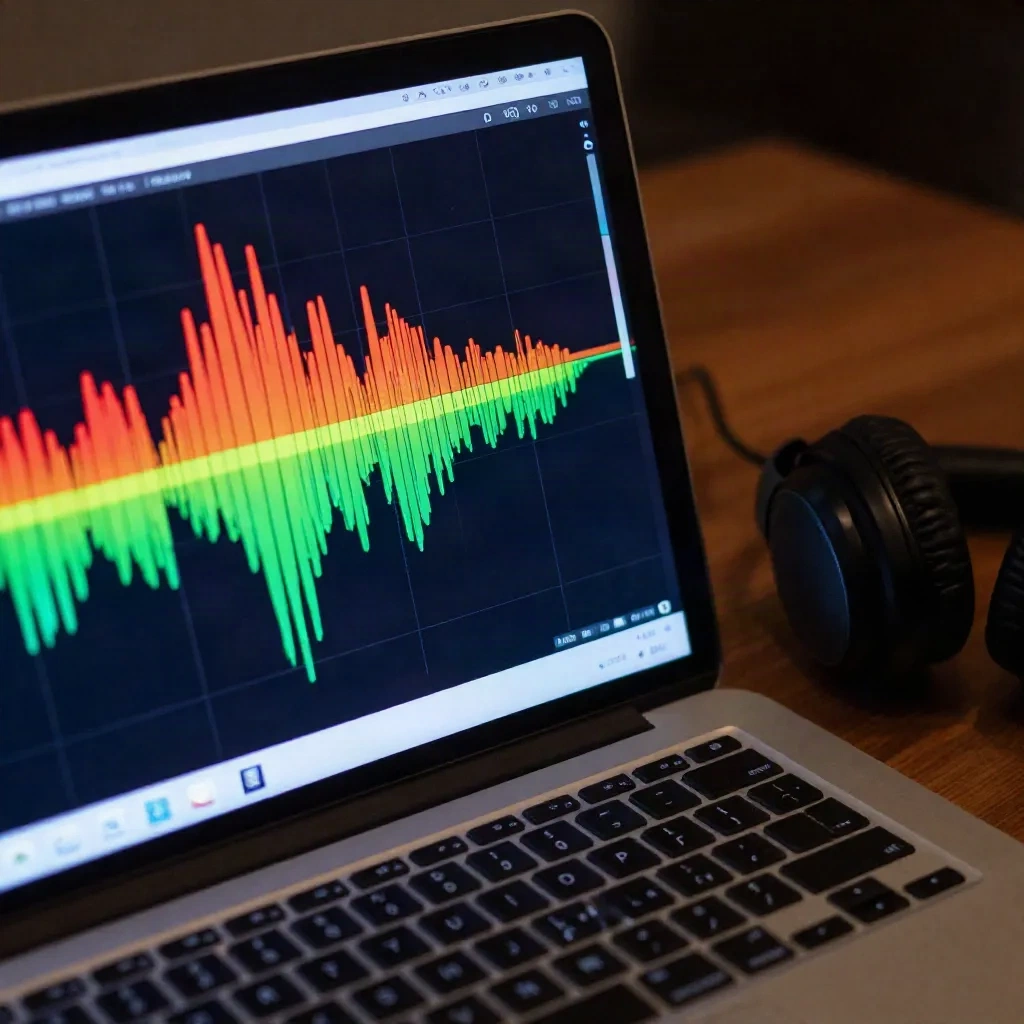
Find a stretch of pure noise: the pause before the speaker starts, a gap between sentences, or the moment after "action" and before the first word. You want one to two seconds. Audacity needs a minimum of 2048 samples, about 0.05 seconds at 44.1 kHz, but longer is better because the tool is learning statistics. Its manual also warns that duplicating a short sample to pad the length does not help, since repeating the same block changes nothing in those statistics.
If there is no clean gap, pick the quietest moment and accept a rougher result. If the noise changes through the clip, for example a fan that cycles on and off, take a profile of each state and process them in separate passes.
3. Apply reduction, lightly
In Audacity, the Noise Reduction effect has three controls: reduction in dB, sensitivity and frequency smoothing. The manual's advice is to use the lowest values that bring the noise to an acceptable level, because higher values damage the remaining audio.
A working starting range:
Reduction: 6 to 12 dB. If the voice starts to sound watery, back off to 6 to 9.
Sensitivity: the lowest value that removes the noise without leaving artifacts.
Frequency smoothing: higher values suit speech, lower values suit music. Try 3 to 6 bands for dialogue.
Then listen to the residue. If you can hear recognizable syllables in what was removed, you went too far.
The session note: two light passes with two different noise profiles beat one heavy pass almost every time. One pass at 18 dB is where you get the underwater, tinkly-bells artifact. Two passes at 8 dB rarely do.
4. Add a high-pass filter and a de-hum if needed
Most rumble lives below the voice. A high-pass filter at 80 to 100 Hz removes it without touching speech. Push it much higher and you thin the voice, since a male speaking voice carries body down toward 100 Hz and a little above.
If you hear a steady buzz, add a de-hummer set to 50 Hz (Europe, much of Asia) or 60 Hz (North America). Resolve's Fairlight page and Premiere's Essential Sound panel both include one.
5. Export and re-sync
Export at 48 kHz, 24-bit if your project allows it, and drop the file back on the timeline. Check sync at the start and end of the clip. Because you did not change the length, it should line up, but a one-frame drift from a variable-frame-rate source happens often enough to check.
Should you use the built-in AI tool instead?
Sometimes. Here is where each one lands.
Premiere Pro Enhance Speech: one-click speech enhancement with a Mix Amount slider. It reduces rather than removes, and in very noisy rooms it can mistake nearby chatter for speech.
DaVinci Resolve Fairlight: a Noise Reduction effect with a learn mode, plus a De-Hummer. The auto speech mode is a Studio feature, so the free version is manual.
Audacity: full manual control and free, but audio only, so you manage export and re-import yourself.
CapCut: a single on/off noise toggle with no amount control, so there is no way to back off.
One-click tools are fine for a talking-head clip that is 80 percent there. For anything where the result matters, the manual workflow gives you the one thing a toggle cannot: a way to back off when the voice starts to suffer.
Krisp is the better answer when the problem is live rather than recorded. It cleans the signal during a call or a recording session, so you never get the bad file in the first place. That is an easier fix than any post-production pass.
Descript sits at the other end: if your clip is mostly speech and you are editing it as text anyway, its audio cleanup is the lowest-friction way to treat the whole file in one go. Skip it if you need frequency-level control.
What if the noise is already baked in?
Then you have three honest options, in order of preference.
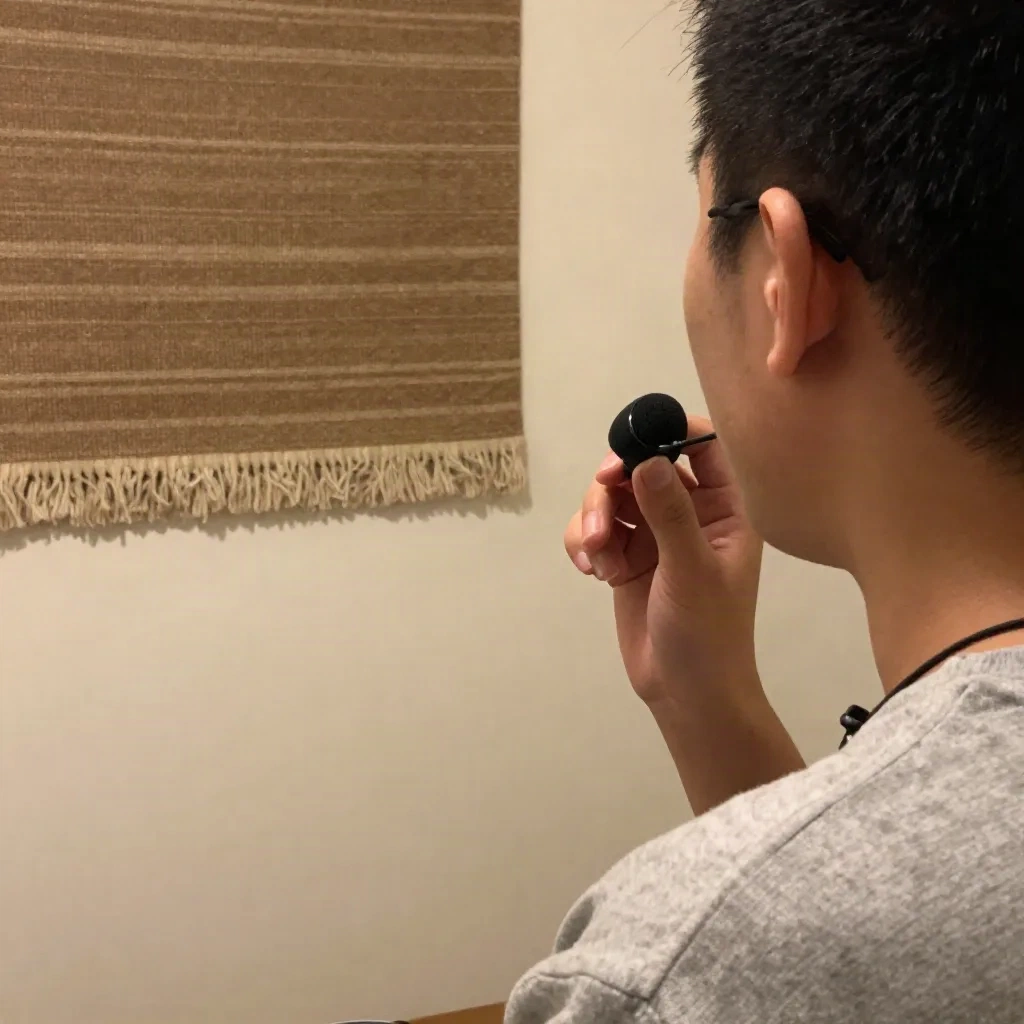
Re-record the line. If the clip is a voiceover, a narration or a talking head you can redo, this is the cleanest fix and takes fewer minutes than an hour of restoration. Put a blanket behind you, move the mic to 15 to 20 cm from your mouth, set gain so peaks land around -12 dB, and record five seconds of silence at the start for next time.
Cut and cover. If a section is unrecoverable, trim it and cover the gap with B-roll or captions.
Regenerate the line from a clean voice clone. For narration and replacement dialogue, a cloned voice lets you redo a line without calling the speaker back to the booth. With AnyVoice, you build a clone in about 30 seconds from a sample of roughly 3 minutes, then generate the replacement and shape it with the emotion sliders so the delivery matches the surrounding takes. It does not denoise anything. It replaces the line. Use it only on your own voice or one you have explicit permission to clone, and keep a note of which lines in the final cut are synthetic.
The clone itself needs a clean sample. Garbage in, garbage out applies harder here than anywhere: noise in the source gets cloned along with the voice. So the same five-step cleanup that rescues a video clip is what you run on a voice sample before cloning it. The two problems share one solution.
CapCut's noise toggle is worth a try on short social clips where speed matters more than control. If the voice sounds even slightly processed, undo it and use the manual workflow instead.
Browser tools such as VEED make sense when you are on a machine without your usual editor. Check the output on headphones before you trust it.
How do you stop the noise at the source next time?
Prevention beats every plugin in this article. Four changes cover most cases.
Turn things off. The fan, the fridge, the AC. Ten seconds of listening before you hit record catches most of it.
Get the mic closer. Halving the distance between mouth and microphone raises the voice relative to the room by roughly 6 dB. That is more than most denoisers manage.
Soften the room. A heavy blanket, a duvet over a rack, or curtains reduce reflections. Foam panels help less than people expect.
Record room tone. Five seconds of silence at the start gives you a clean noise profile every time.
Here is what the difference sounds like in context: a phone clip recorded 15 cm from the speaker with a blanket behind them needs one light pass at 6 dB. The same line recorded across a room needs three passes and still sounds thin.
Before your next session
Run the triage first. If the noise is steady, use the five-step workflow and keep reduction under 12 dB. If it is a competing voice, traffic or clipping, stop tuning and re-record, cut and cover, or regenerate the line from a clean clone. Listen on headphones, then on laptop speakers, because that is where most viewers will hear it.
Save your noise profile and your settings. Next time the same room or the same camera shows up, you will be done in five minutes.