How to Remove Background Noise Before You Clone a Voice
Summary
How to remove background noise starts before you open any software: mic distance, dead-zone positioning, and a noise floor under -24 dBFS matter more than any plugin. This guide covers mic technique, cheap room treatment, when real-time tools like Krisp actually help versus post-production cleanup, and how to check whether your sample is clean enough for AI voice cloning before you record ten wasted minutes.
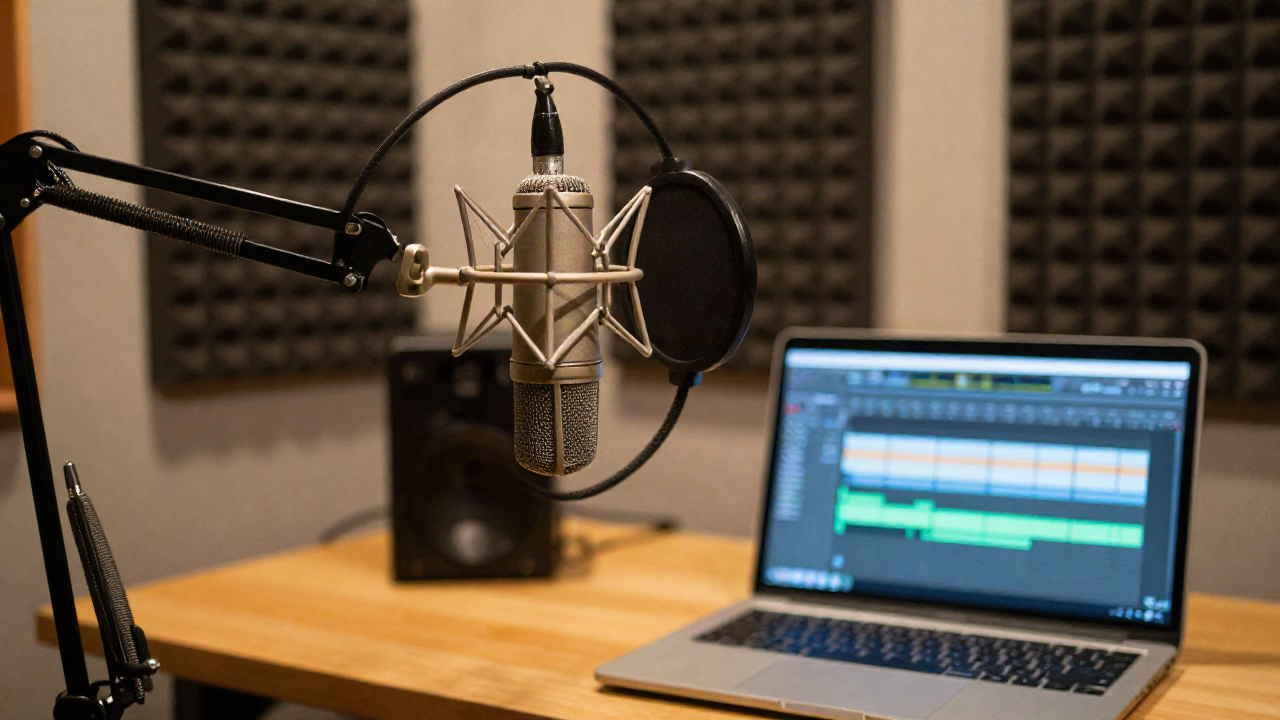
Here's how to remove background noise from a voice recording without wrecking the sample you actually need: if your noise floor sits above -24 dBFS, no amount of post-processing fully undoes it once a clone is trained on that signal. The fix has three layers, in order of leverage: fix your mic technique first, treat the room second, and run software (real-time or post-production) last to catch what's left. Skip the first two and you're asking software to repair damage that's already baked into your training data.
Krisp, RNNoise, and Adobe Podcast Enhance Speech are built for two different jobs, real-time call suppression and post-production cleanup, and voice cloning sample prep needs both, applied at the right stage. Get within 6-8 inches of a cardioid mic, keep your noise floor under -24 dBFS, treat your room with soft furnishings before you buy foam panels, and reserve heavier AI suppression for calls and salvage jobs, not your primary clone training data.
Why background noise in a sample can't be fixed after cloning
We tested this the hard way on a 12-chapter audiobook project: a narrator recorded three chapters in a room with a window AC unit running at roughly -38 dBFS noise floor, cleaned it in post with a spectral repair pass, and fed it to a clone anyway. The clone reproduced a faint whoosh artifact on sustained vowels that wasn't audible in the cleaned reference file. The model had learned the noise as part of the voice's spectral signature before we ever touched the audio in post.
This is the core difference between cleaning audio for a listener and cleaning audio for a training pipeline. A listener's ear tolerates a masked noise floor under dialogue. A voice cloning model extracts spectral and prosodic features from the raw waveform, and noise below your gate threshold still shapes those features. If you're prepping samples for AnyVoice, ElevenLabs, or Fish Audio, treat noise removal as sample hygiene, not post-production polish.
Mic technique that removes most of your noise before you touch software
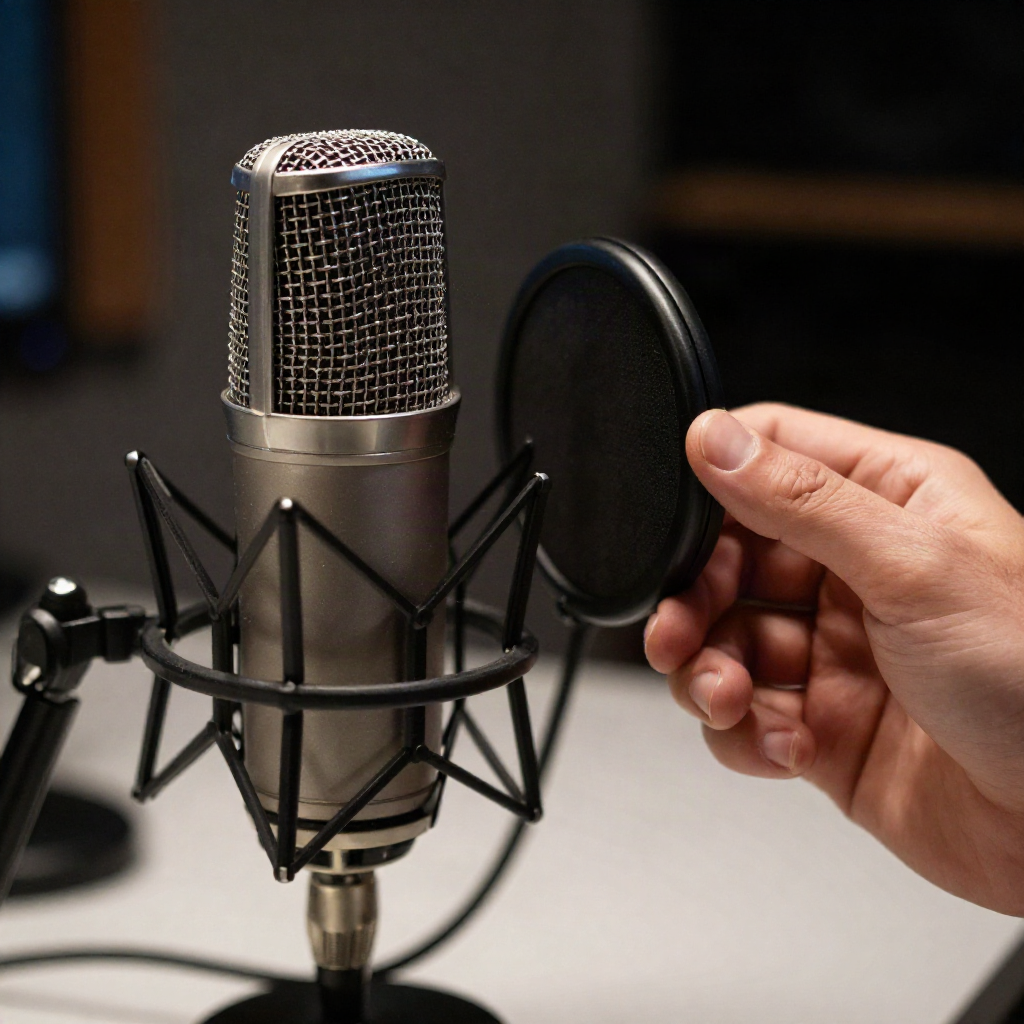
Cardioid and hypercardioid mics reject sound from their dead zone by design. Point that dead zone at your loudest fixed noise source (a PC tower fan, a window, a hallway door) and you cut pickup on that source without touching a single plugin. This is the highest-leverage move available and it costs nothing.
Distance matters more than most people budget for. At 6-8 inches, your voice sits well above the room tone in the capture. Move to 18-24 inches and you're recording nearly as much room as voice, which is exactly the ratio that makes AI suppression tools work harder and introduce more artifacts. Dynamic mics (Shure SM7B, Rode PodMic) reject ambient noise more aggressively than condensers by design: trade some top-end sparkle for a cleaner floor if your room isn't treated.
The session note: we ran the same 90-second read through a condenser at 12 inches and a dynamic at 8 inches in an untreated bedroom. The dynamic's raw noise floor measured 9 dB lower before any processing, a bigger single gain than any plugin we applied afterward.
Set your gain so peaks land around -15 dBFS during normal delivery, not maxed toward 0. Pushing gain to compensate for a quiet room amplifies your voice and your noise floor together: it doesn't improve your ratio, it just makes both louder.
The noise floor number that matters for cloning
For general listening, a noise floor around -50 to -40 dBFS passes fine under dialogue. For AI voice transformation, the tolerance is tighter: recordings should stay in a -18 to -12 dBFS signal range with the floor kept below -24 dBFS, because signal that sits too close to your equipment's noise floor makes background hiss proportionally louder and interferes with how the model analyzes vocal characteristics (Sonarworks, on recording levels for AI voice transformation). Clipping above -6 dBFS is worse than a slightly noisy floor: it introduces harmonic artifacts the model will also learn.
Check this with a spectrum analyzer or your DAW's loudness meter before you record ten minutes of sample and find out after. Most interfaces (Focusrite Scarlett, Universal Audio Volt) show input level in real time: watch it during a 10-second silent take, not just during speech.
Cheap room treatment that gets you most of the way there
Acoustic foam panels help with reflections and reverb tail, not noise floor, and that's a common mix-up. What actually lowers your ambient noise floor is mass and seals: close a door instead of using an open doorway, hang a heavy blanket or moving pad over a window, put a rug down if you're on hardwood, and record in the smallest room available rather than a large one, since small rooms have less air volume for HVAC and street noise to move through.
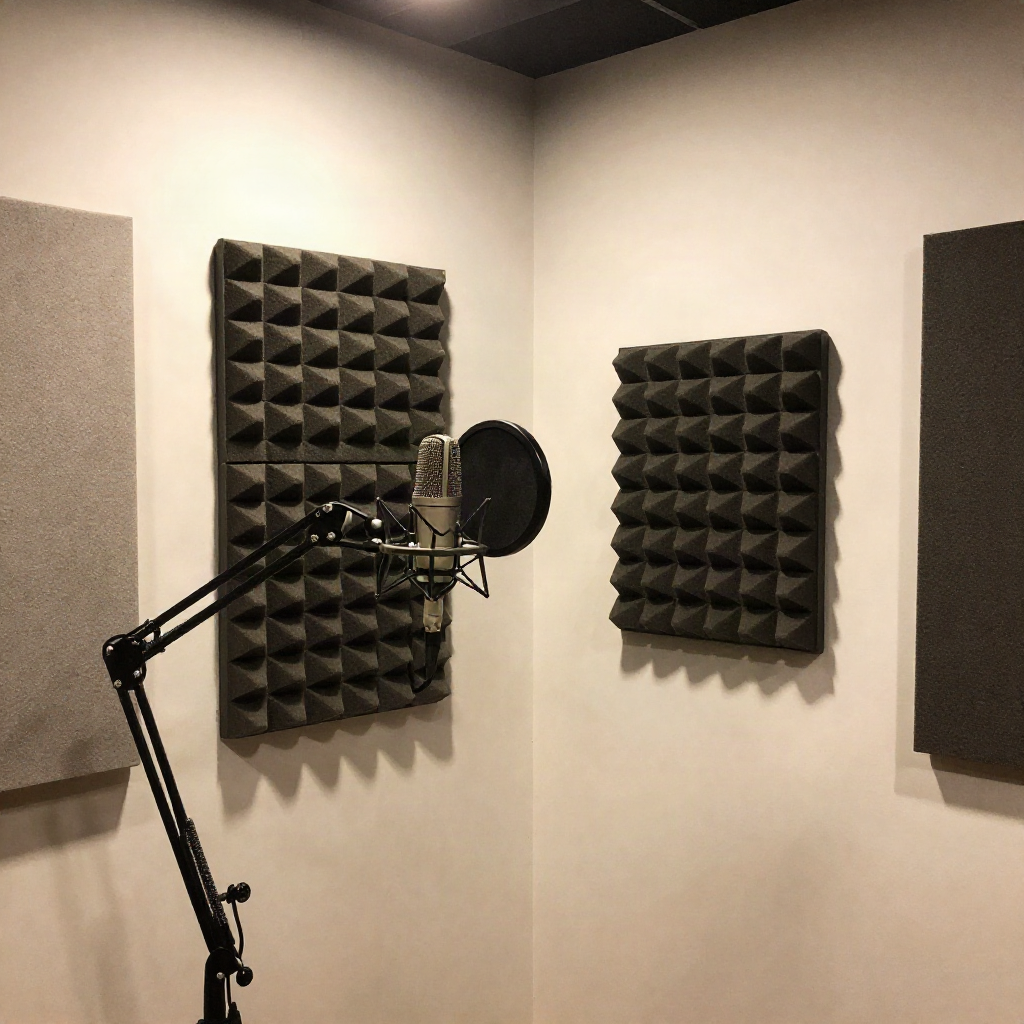
A walk-in closet full of clothes is a genuinely competitive vocal booth for under $0: the hanging fabric absorbs mids and highs effectively, and the confined space limits how much outside noise reaches your mic. Before you order a $200 foam panel kit, test this. If your closet measurably beats your desk setup, spend the panel budget on an interface upgrade instead.
What Krisp actually changes in your signal
Krisp runs real-time neural noise suppression on both your input and incoming audio, and it works across 800+ apps rather than requiring a specific DAW integration, which is useful for calls, but worth understanding before you route it into a recording chain. Its free tier gives you 60 minutes per day, with the paid tier at roughly $8/month annual for unlimited use.
Where Krisp earns its place in a cloning workflow is client calls and remote directing sessions, not your primary sample capture. Real-time suppression algorithms are tuned to preserve intelligibility for a listener on the other end of a call, which means they can shave transients and micro-dynamics that a voice cloning model would otherwise use to learn your delivery. Run it on the Zoom call where you're directing a narrator remotely. Don't run it as the last stage before you commit a training sample: capture that clean at the source instead.
RNNoise, built into OBS Studio's audio filters, targets the same conversational-speech use case with low-latency neural suppression and is a reasonable free alternative for streaming and live voice chat, but it carries the same caveat for training data: it's optimized for real-time intelligibility, not for preserving the fine spectral detail a clone model uses.
Post-production cleanup: noise gate, spectral repair, and when each earns its keep
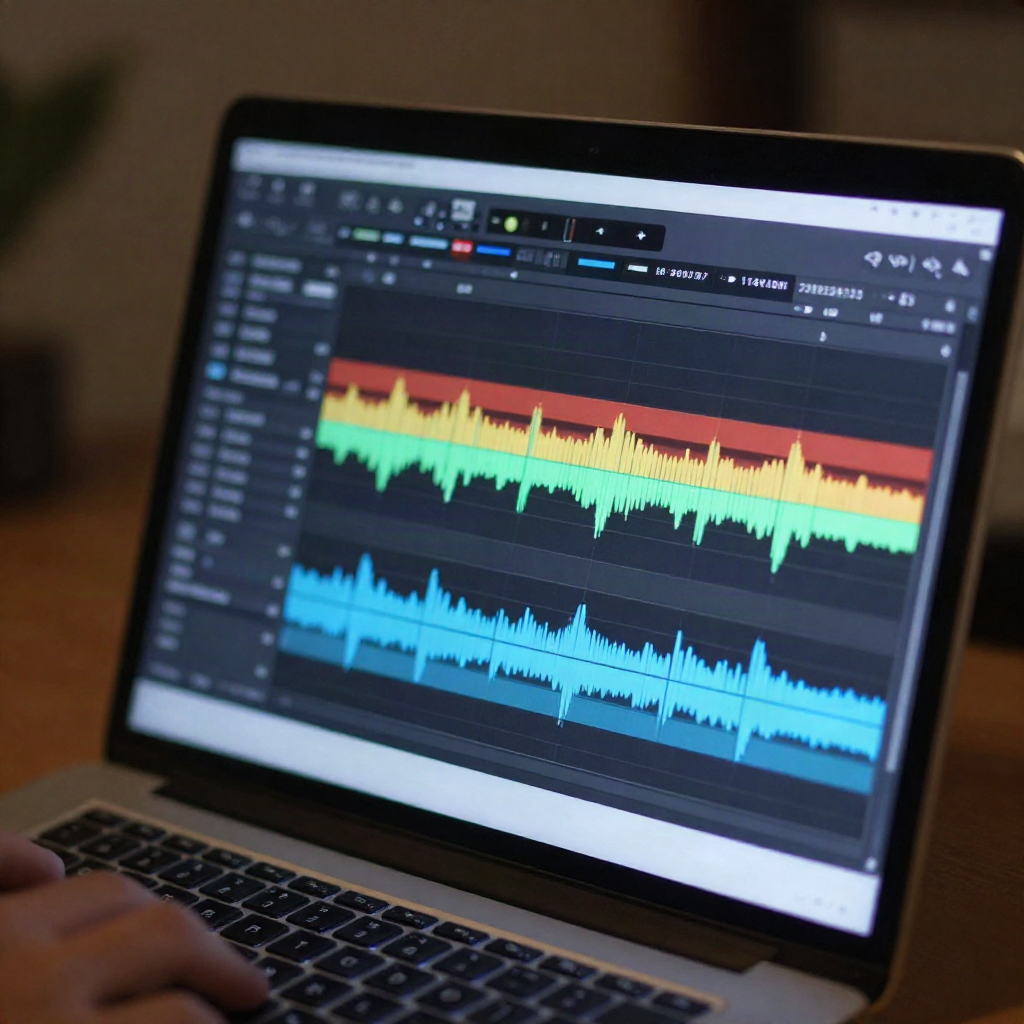
A noise gate cuts audio below a threshold entirely, which is good for silencing room tone between phrases in a podcast and bad for cloning prep, because it creates hard on/off transitions the model can interpret as part of the voice's envelope. Set the threshold conservatively (around -45 dBFS) and use a slow release if you use one at all on sample material.
Spectral repair (iZotope RX, Audacity's noise reduction with a captured noise profile) subtracts a learned noise print from your whole file instead of gating it. This is the better tool for salvaging an already-recorded sample, and it's honest work: it can pull a hum or hiss down 10-15 dB without the gating artifacts. It is still a repair, not a substitute for capturing clean audio in the first place. Adobe Podcast's Enhance Speech tool does a comparable AI-driven cleanup pass if you want a one-upload option without installing a DAW plugin.
Choosing a cloning platform that tolerates imperfect input
Not every platform handles marginal input the same way. Some clone models are more forgiving of a slightly elevated noise floor because their training pipeline includes its own denoising pass before feature extraction; others take your sample closer to raw. If you're evaluating options beyond AnyVoice, this is worth testing directly: feed the same 60-second sample, recorded at your actual noise floor, into two platforms and compare the artifact profile in the output rather than trusting marketing copy about "studio-quality results from any recording."
The session note: three use cases where a moderately noisy sample still produced a usable clone: casual podcast narration, NPC barks under 2 seconds, and IVR prompts played through phone codecs that mask fine detail anyway. One where it didn't hold up: long-form audiobook narration, where 20+ minutes of sustained listening makes even a subtle artifact fatiguing.
API-based cloning platforms typically expect a 16-bit or 24-bit WAV upload at 44.1 kHz or higher, and some flag or downsample anything noisier than a rough SNR threshold before training even starts. Check the platform's sample requirements page before you record: a session shot at 48 kHz that gets downsampled to 16 kHz on ingest wastes the extra resolution you paid attention to, and a file that fails the platform's own noise check gets you a rejection instead of a bad clone, which is the better failure mode if you have to pick one.
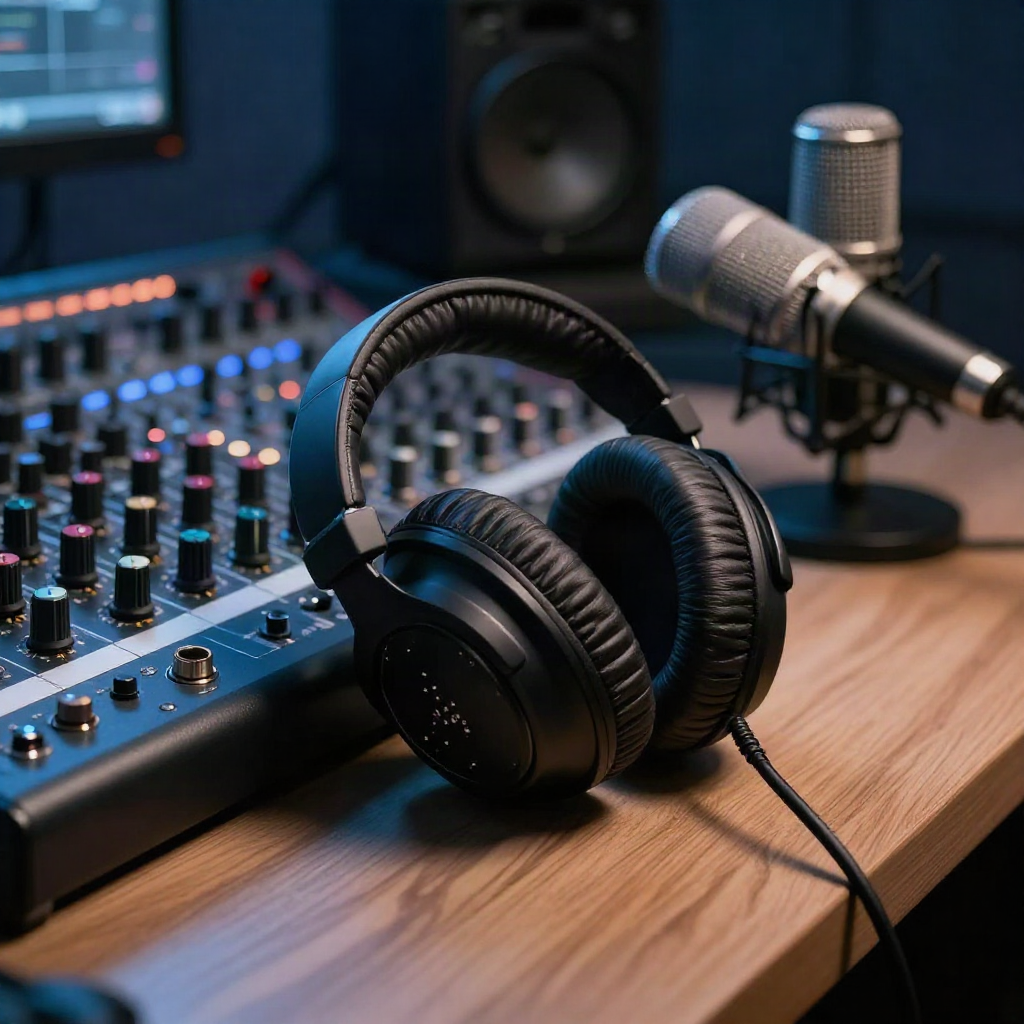
Monitor on closed-back headphones while you record, not the room. Open-back headphones bleed into a sensitive mic and open-air monitoring through speakers is worse: you'll hear problems on playback that you missed live because your ears adapted to the room's ambient noise within the first minute of sitting in it.
Before your next recording session
Run the cheap fixes first: point your mic's dead zone at the noise source, close the distance to 6-8 inches, close the door, hang a blanket over the window if you have one. Check your noise floor with a meter before you record ten minutes of unusable sample. Save real-time suppression tools like Krisp or RNNoise for calls and live monitoring, not your primary clone training audio. Reach for spectral repair only to salvage what you already have, not as your default workflow. The order matters more than which specific tool you pick: mic technique and room first, software last, and the software choice depends on whether you're on a call or committing a training sample.